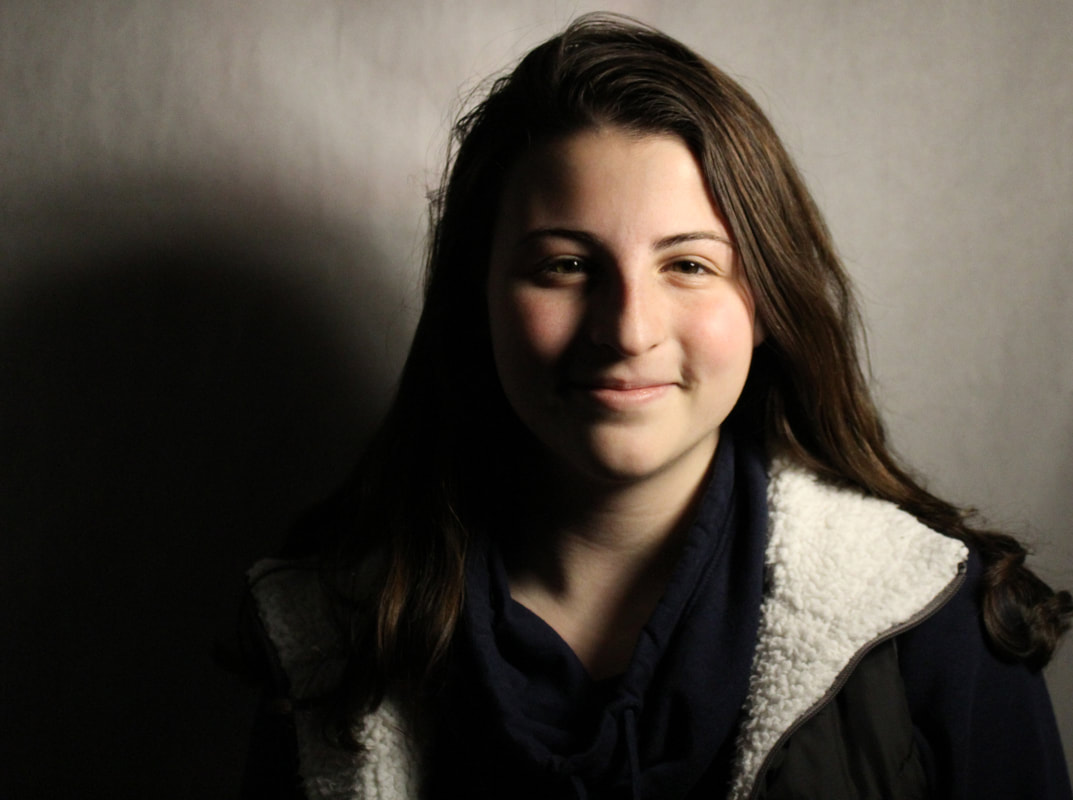
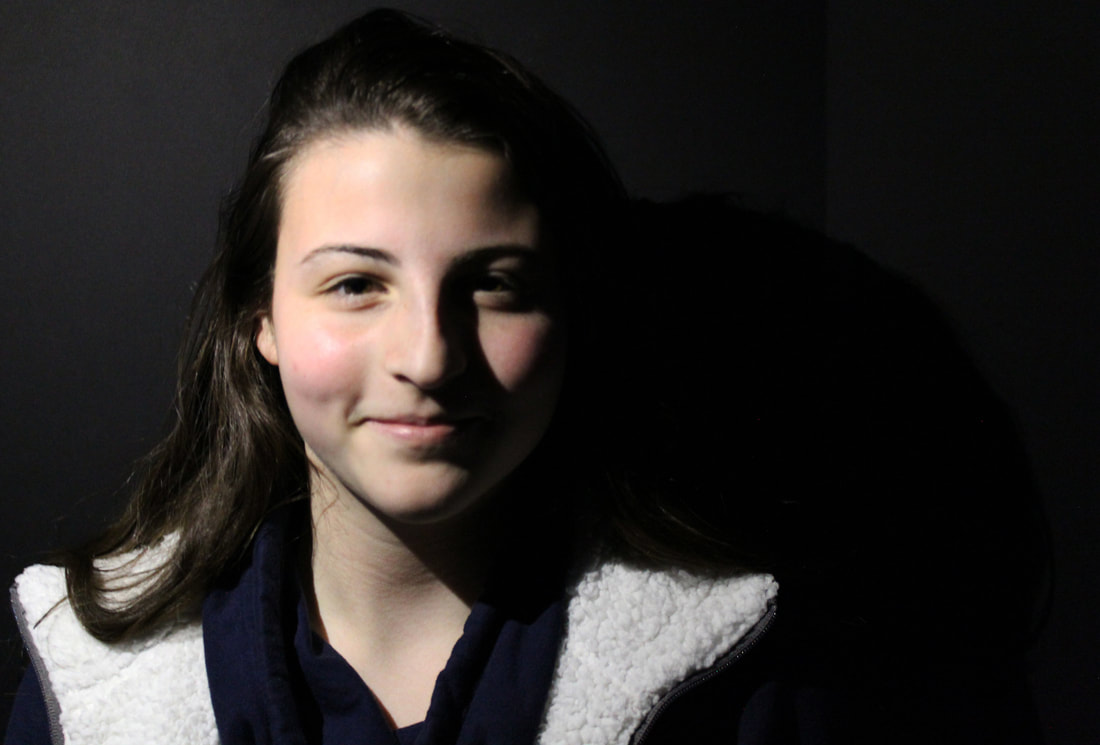
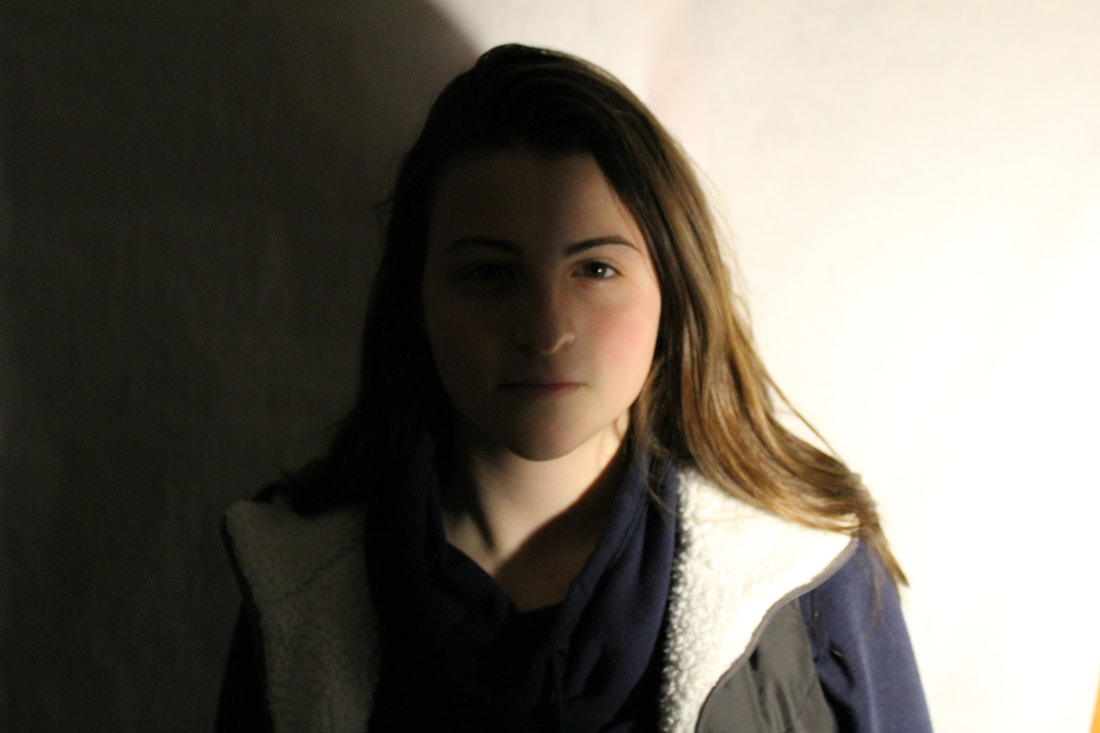
1.) Rembrandt Lighting
Makes the face look natural and compelling at the same time.
Hold light up and to the side of the face at about a 45 degree angle.
watch shadow of nose, trying to make a triangle from both sides of the eye and down to the tip of the nose.
Hold light up and to the side of the face at about a 45 degree angle.
watch shadow of nose, trying to make a triangle from both sides of the eye and down to the tip of the nose.

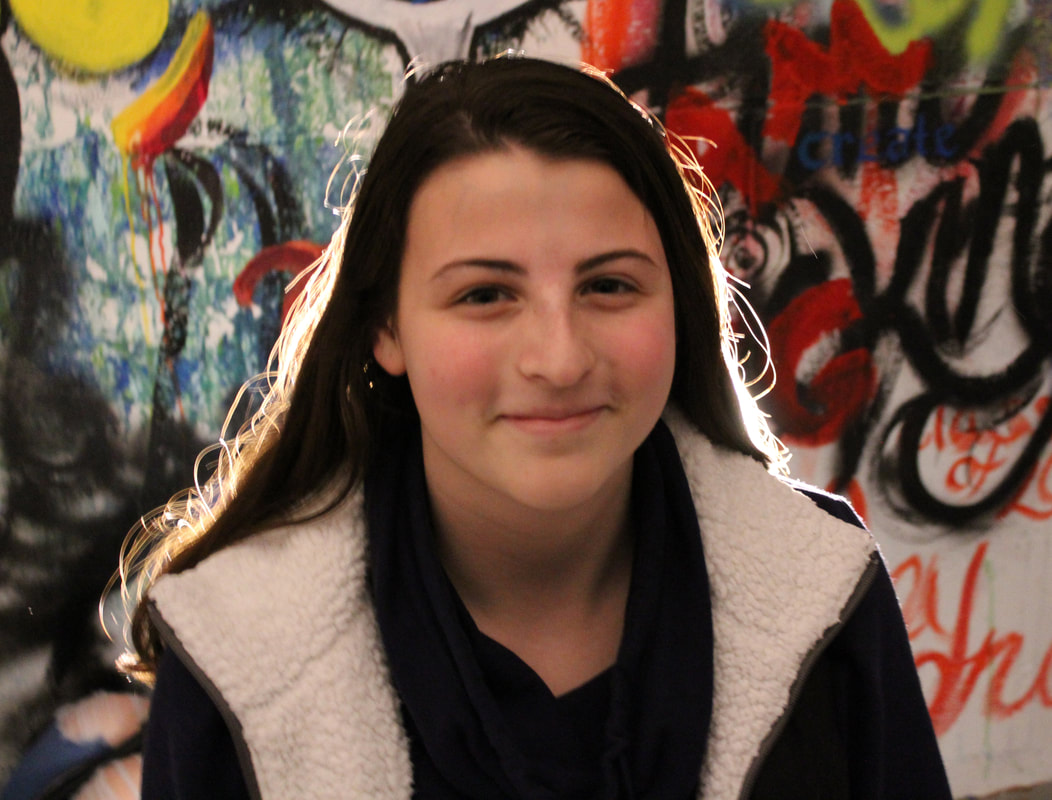
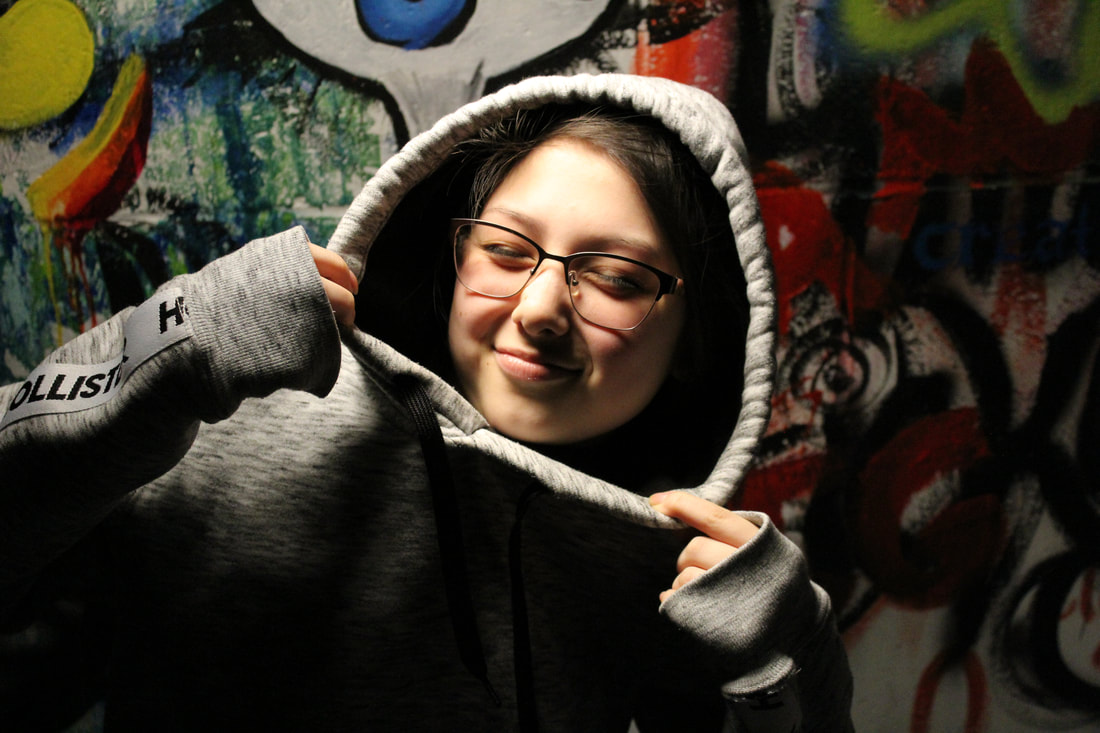
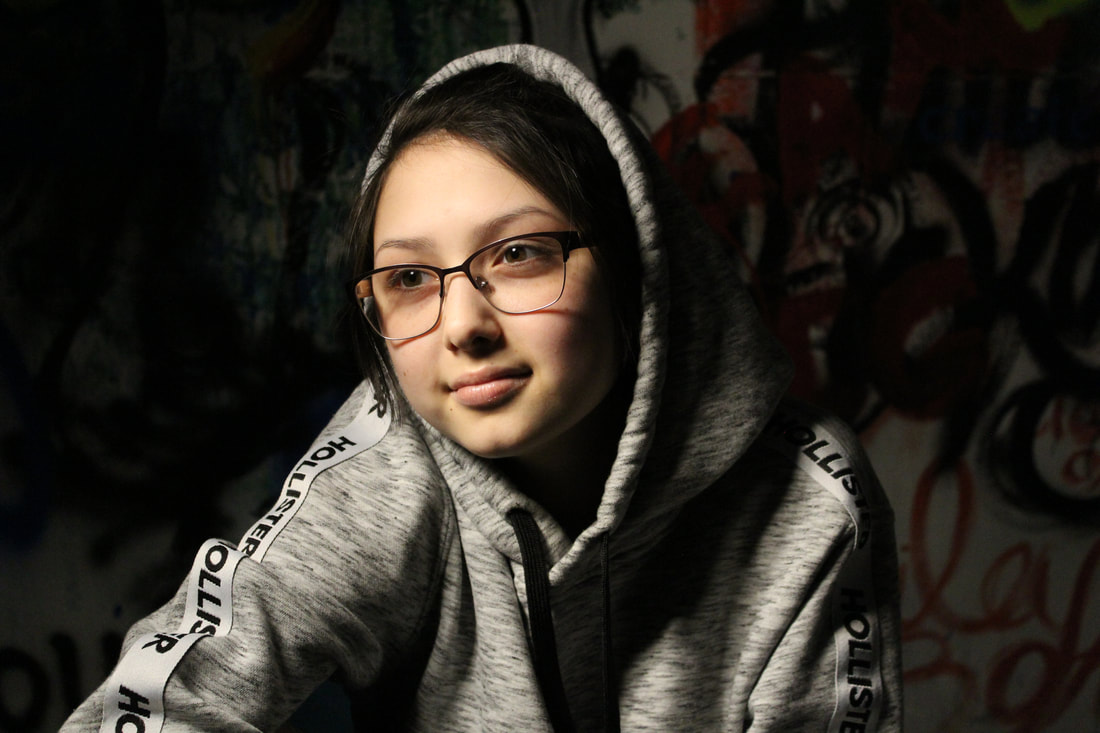
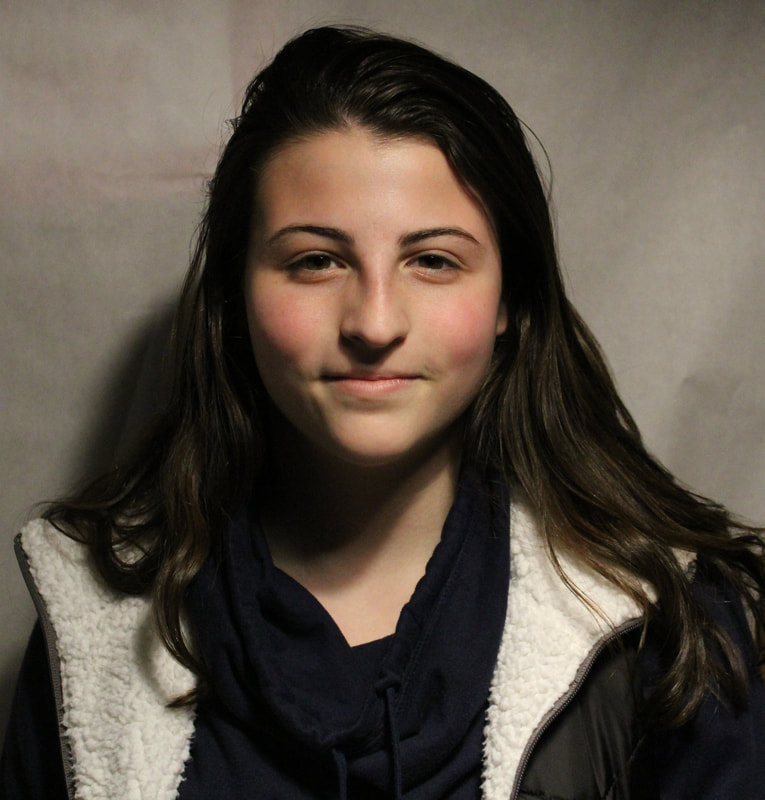
2.) Loop Lighting
Flatters most faces by elongating the face. Lighting used on most faces.
Hold to the side of the face and hold it at a distance where you can see a little bit of a loop shadow under the nose.
Used for most portraits.
Hold to the side of the face and hold it at a distance where you can see a little bit of a loop shadow under the nose.
Used for most portraits.

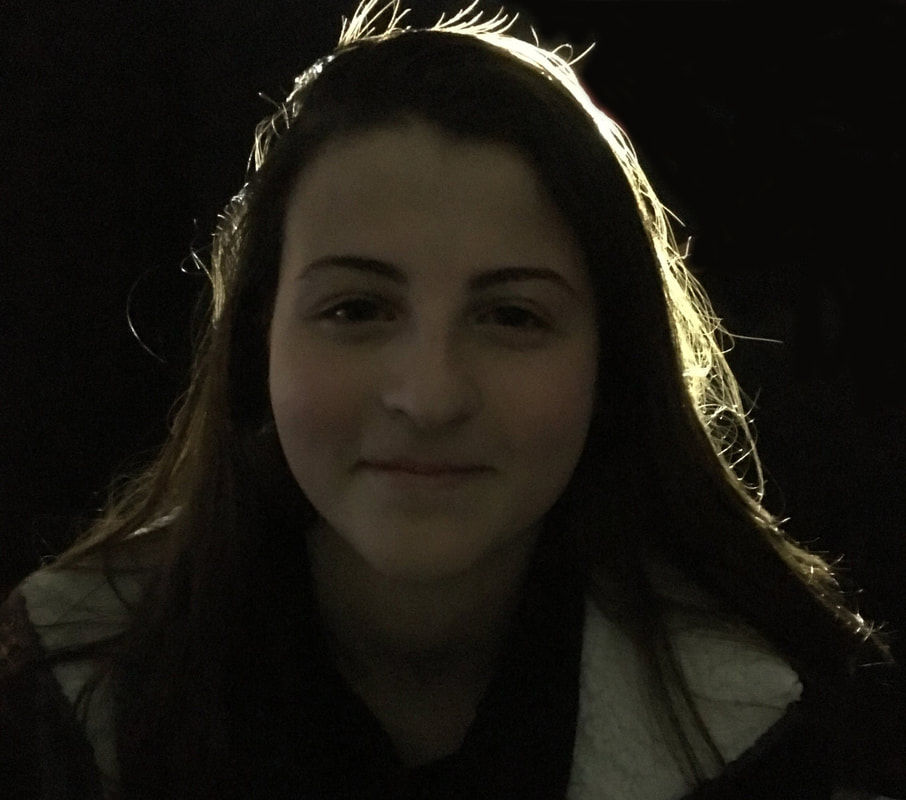
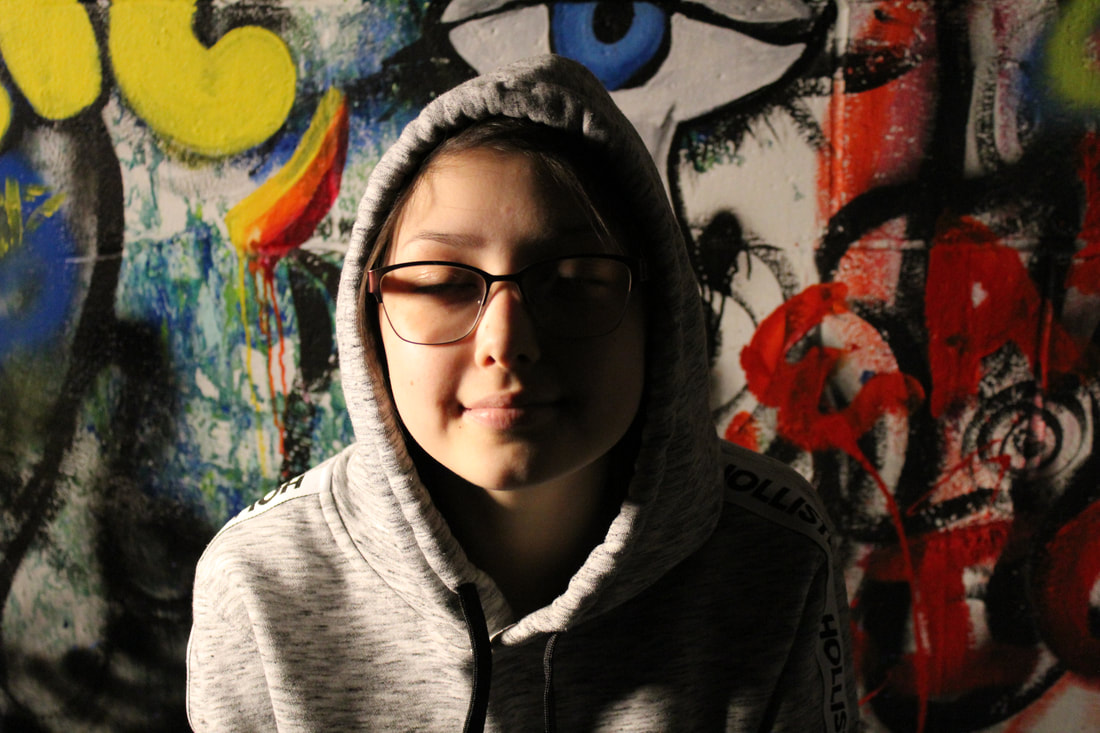
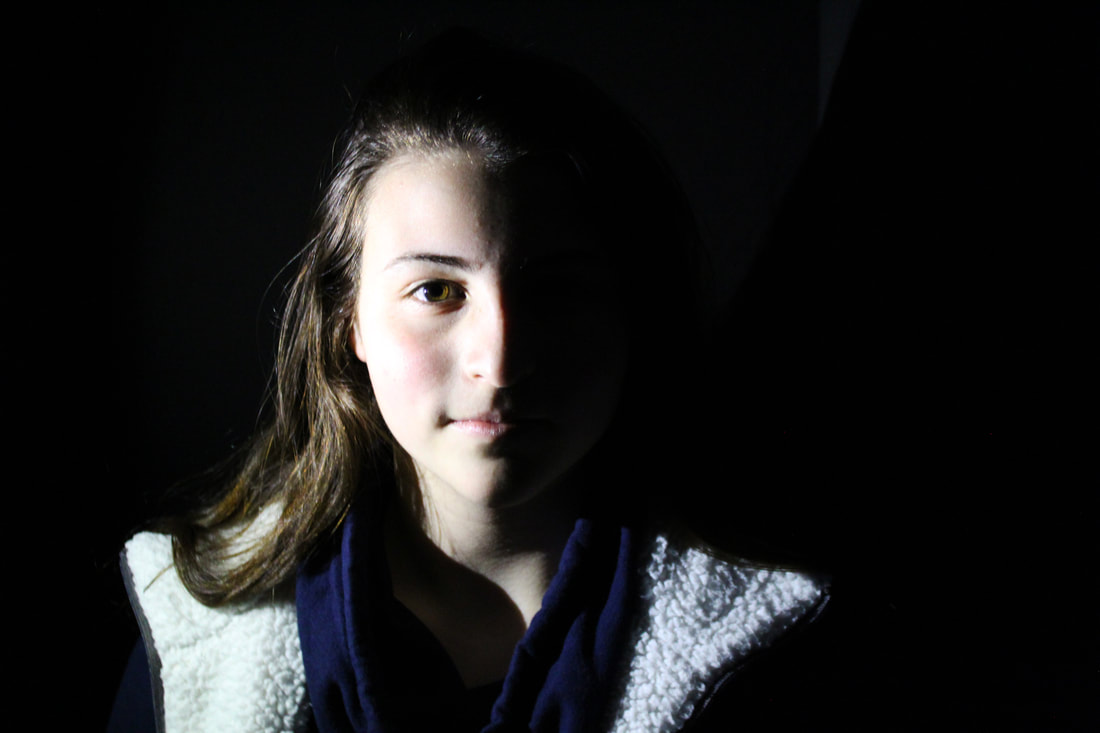
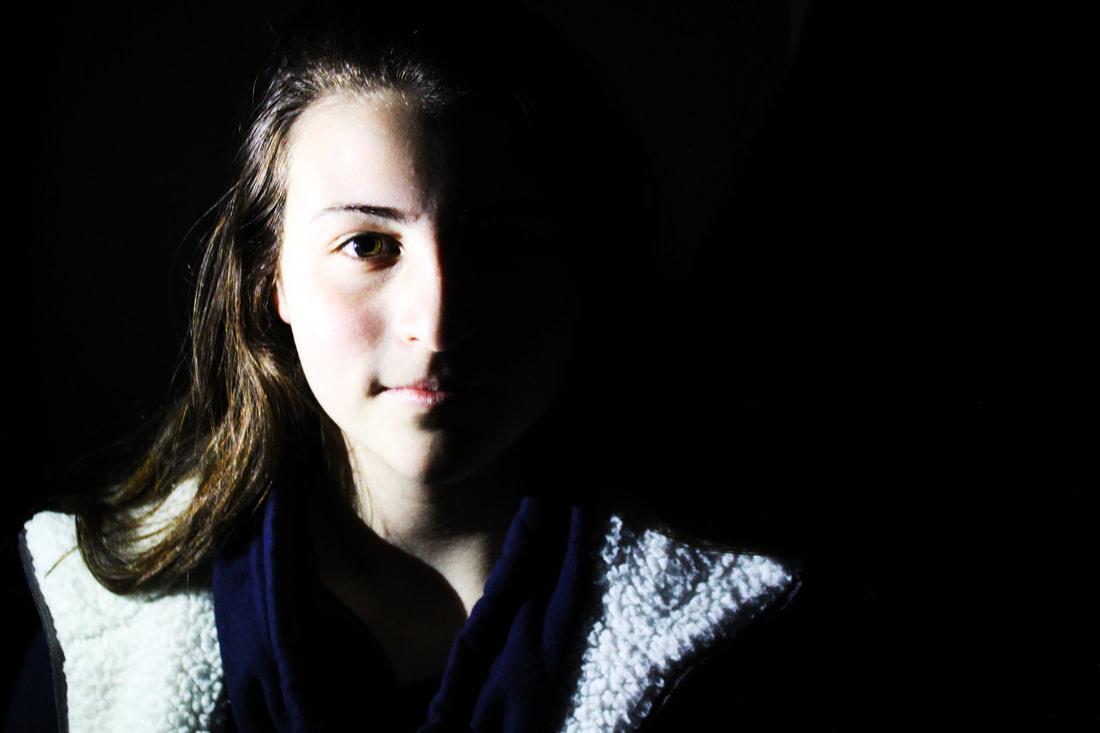
3.) Split lighting
Add drama to the portrait.
Used mostly with masculine faces.
Makes the face seem thinner.
Directly at side of subject and light up only half of the face, either behind or directly to the side of subject.
Used mostly with masculine faces.
Makes the face seem thinner.
Directly at side of subject and light up only half of the face, either behind or directly to the side of subject.
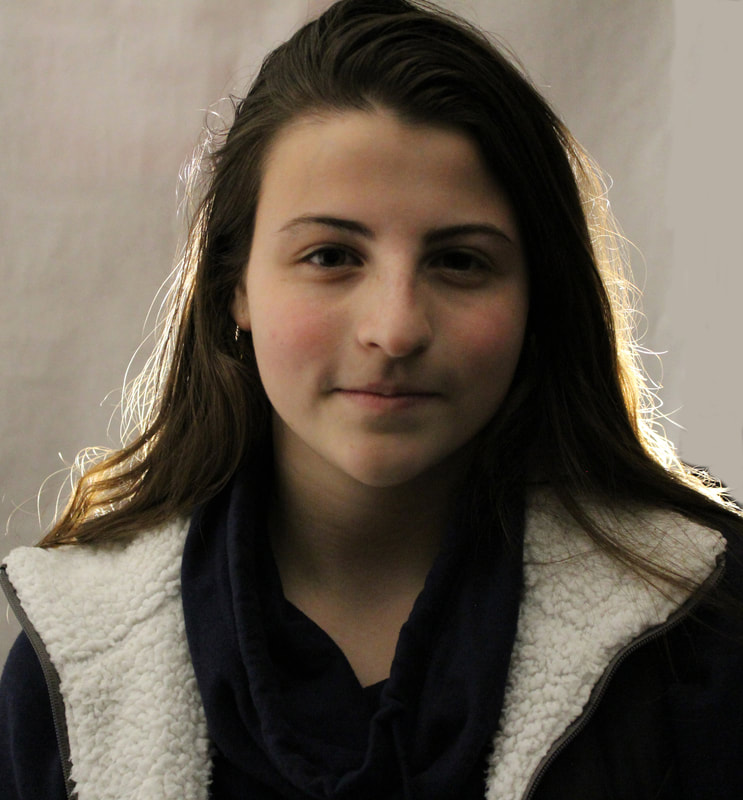
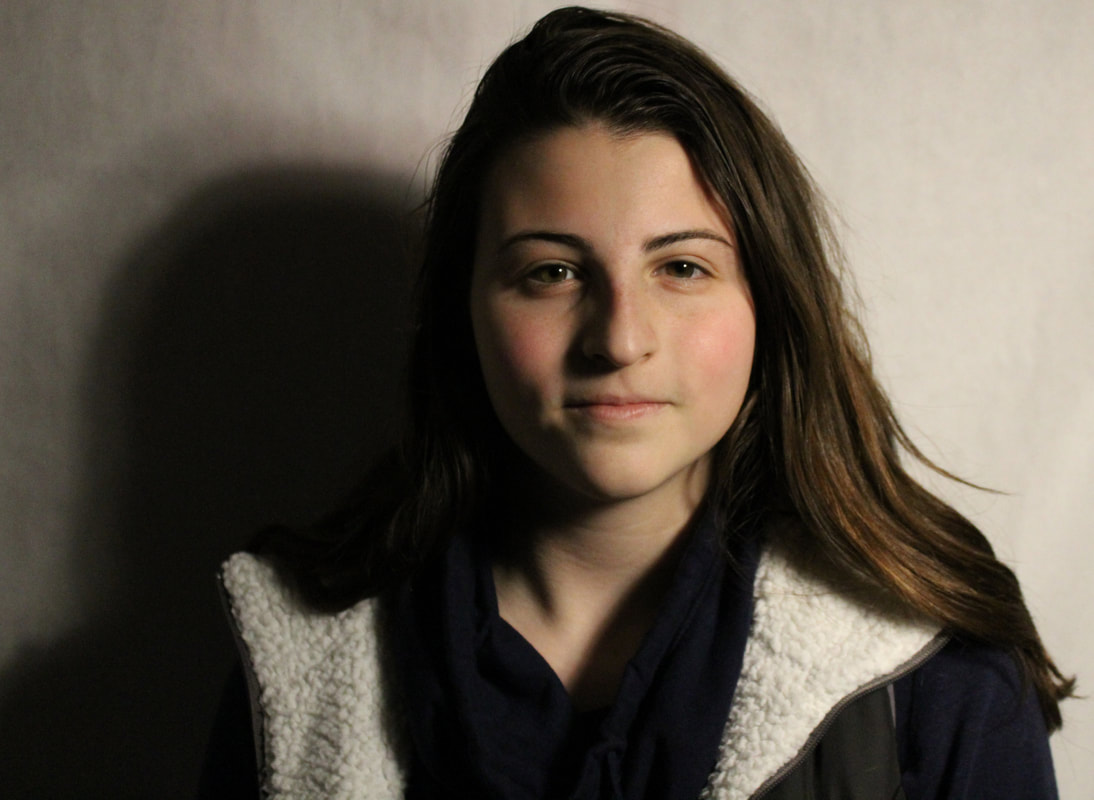
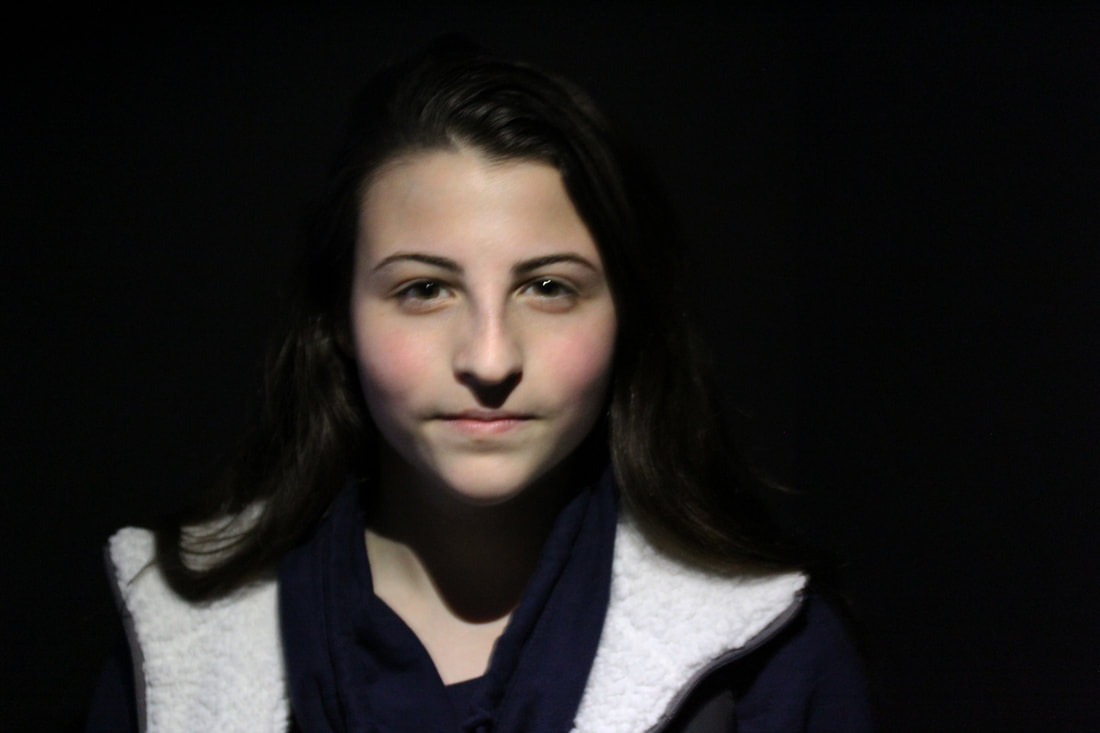
4.) Butterfly Lighting "Paramount Lighting"
Used to make "glamour" shots. (Most often used in Hollywood)
Cast shadow under nose, eyes, chin, and cheek bones.
Placed above and directly centered with a subjects face.
Used mostly on feminine faces.
Cast shadow under nose, eyes, chin, and cheek bones.
Placed above and directly centered with a subjects face.
Used mostly on feminine faces.
5.) Rim/Profile Lighting
Rim (often hardest to do) - Lights up the rim of the object.
Light source is set behind subject and creates a glowing effect around object/enhances texture.
Profile - Light "bounces" of the front of the subjects face.
Light source is set behind subject and creates a glowing effect around object/enhances texture.
Profile - Light "bounces" of the front of the subjects face.